Managing Test Requests
Test requests are the core workflow units, representing requests for tire testing.
Creating a Test Request
-
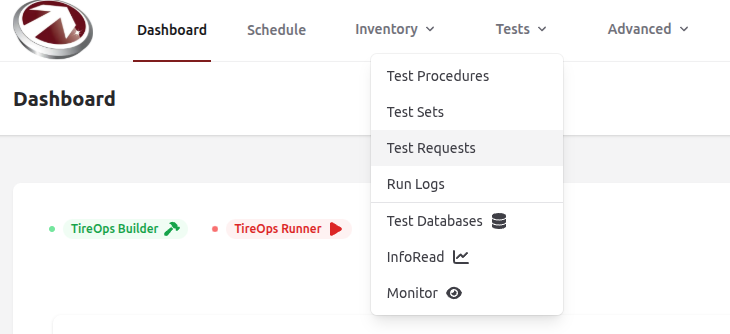
Navigate to Test Requests from the Tests dropdown menu.
-
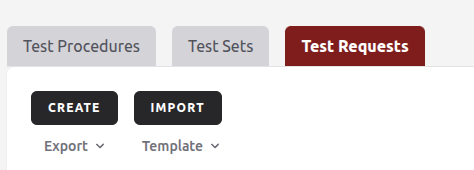
Click Create.

-
Fill in the form:
- Customer: Select from the dropdown (searchable).
- Name and Description: Provide details about the request.
- Status: Choose from options like Pending, In Progress, Completed (defaults to Pending).
- Hours Needed: Estimate testing time.
- Timeline: Set Start Time, End Time, and Deadline (dates are timezone-aware).
- Test Sets/Procedures: Select predefined test sets or individual procedures.
- Custom Fields: Add any additional info (e.g., via templates).
- File Upload: Optionally import requirements from XML/CSV/JSON files.
-
Click Save. The request is created and associated with the customer.

Viewing and Editing Test Requests
- List View: See all requests in a table with sorting, filtering, and search.
- Details View: Click a request to view details, including status, timeline, requirements, tasks, and comments.
- Edit: If the request hasn't started (modifiable status), click Edit to update fields. Changes are logged.
Managing Requirements and Tasks
- Add/edit test requirements (e.g., tire, wheel, belt assignments) within the request details.
- Schedule tasks for execution (e.g., assign to users, set sub-order).
- Monitor build status for test definitions (e.g., via integrated builder service).
Importing Test Requests
- Click Import on the Test Requests page.
- Upload a CSV file with columns like name, description, status, hours_needed, start_time, etc.
- The system validates and imports data in batches.